Nathan Segal Art
FIXED: Corel PHOTOPAINT Tutorial
I found this tutorial on the Corel tutorial site.
https://learn.corel.com/tutorials/photo-background-removal-in-photo-paint/
Overall ,the tutorial is good, though I feel it missed a couple of steps.
Here are a couple of screen shots from the tutorial.
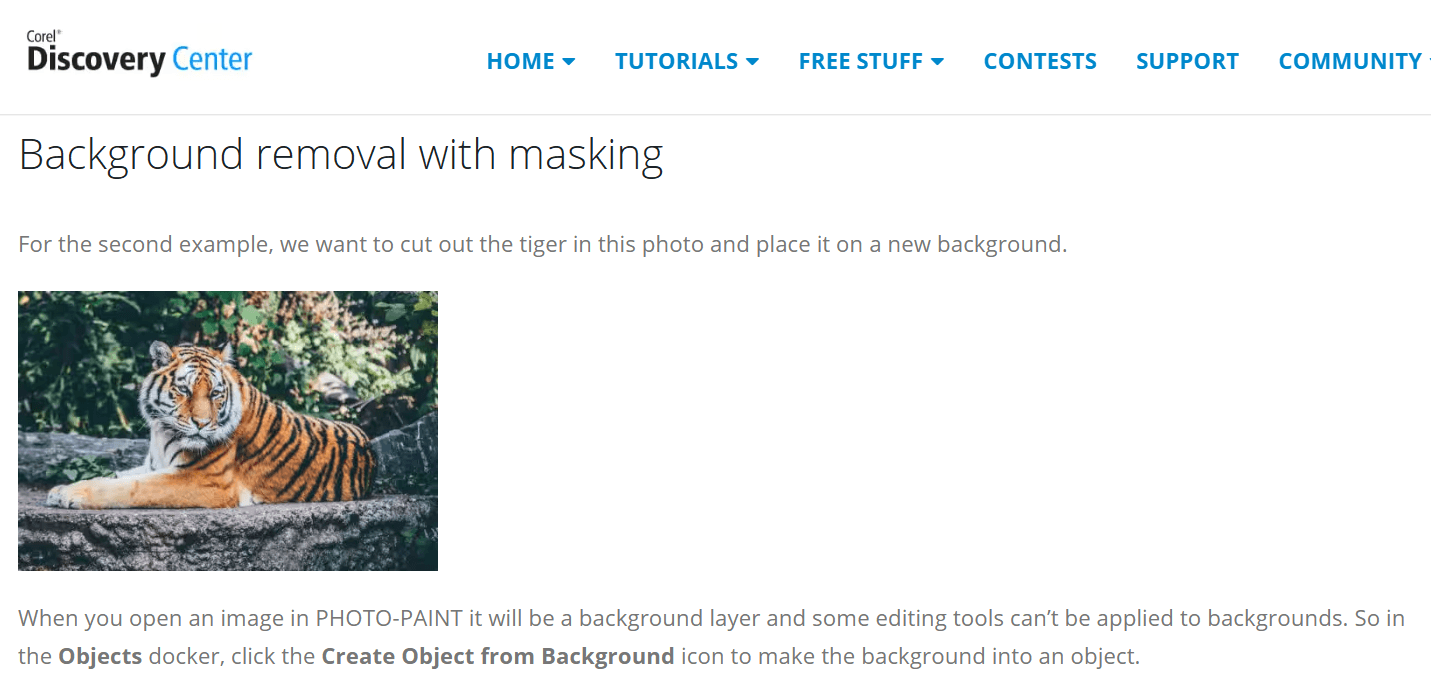
Here are three things that would make it better.
When masking images such as the one above, add a high-contrast layer beneath the one you are working on. It will help you define the edge and will show areas that have not been properly masked. This helps tremendously when masking complicated shapes such as hair.
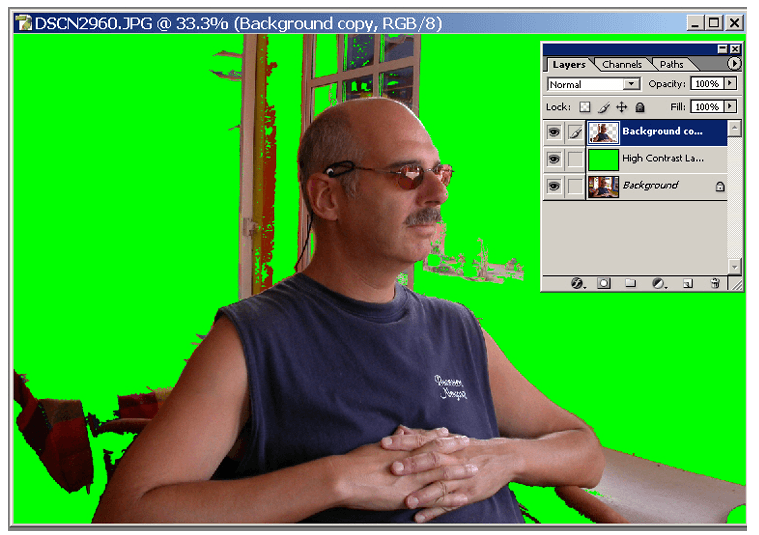
Masking Using the Extract Filter
The Extract Image command is a valuable tool and is excellent for masking images that have an irregular border, such as hair or fur and wispy areas, such as whiskers. Before masking, though, make a copy of the original image to avoid losing any of the original content. Next, choose Filter: Extract. From there, you make use of the available tools to mask your image.
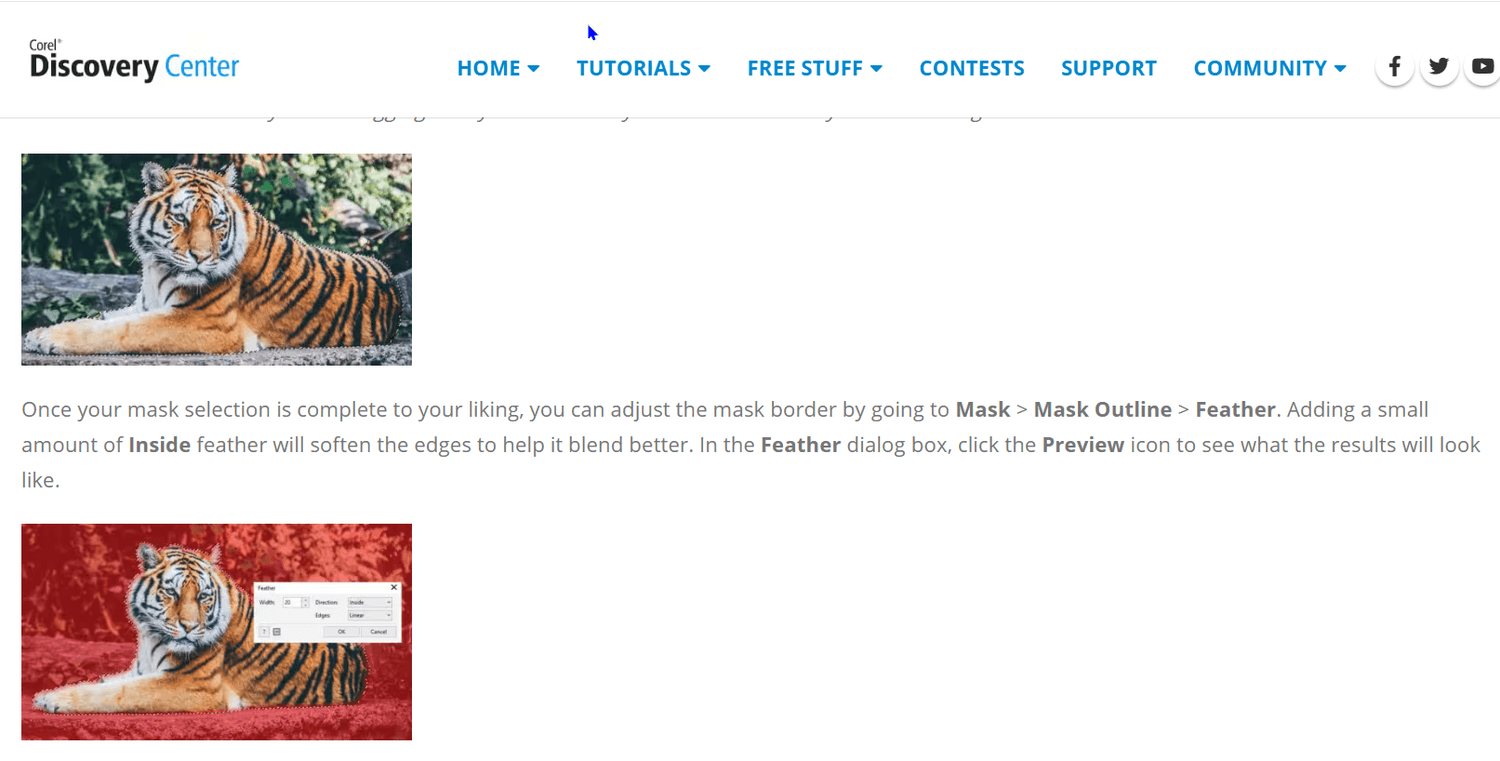
Feathering a Mask
Sometimes, a masked image will look cut out and pasted on in a composition. Part of this problem has to do with the edges of the mask, which are too clearly defined. To fix this problem, feather the edge of your masks, allowing for a gentler transition into the background. To access this tool, load the image selection then click on Select: Feather. Experiment with settings of 5 pixels and up, depending on the size of your image.
Hope this helps.
Nathan

About me
Hi there 👋 My name is Nathan Segal, I'm the creator of This Blog. Here, you can view my portfolio and read my articles which are all about art and tutorials


Created with ©systeme.io