Nathan Segal Art
How to Fix Perspective Errors, Barrel and Pincushion Distortion in Photoshop
When taking photographs, it will often become apparent that what is seen with the eyes is very different from what the camera sees. Two examples of this are barrel and pincushion distortion.
Barrel distortion makes straight lines bow towards the sides of the image. Pincushion distortion causes straight lines to bend inwards.
And then there are images with perspective errors, which makes vertical lines angle backwards and inwards. Here’s an example of an image with all three problems.

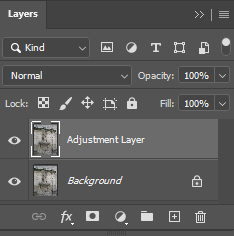
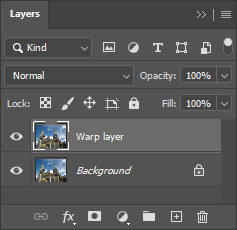
First off, before doing any image corrections/adjustments, make a copy of the background layer and rename it. This way, there won’t be a risk of damaging the original image.
Note: This filter only works with 8 and 16 bit-per-channel RGB or Grayscale images.
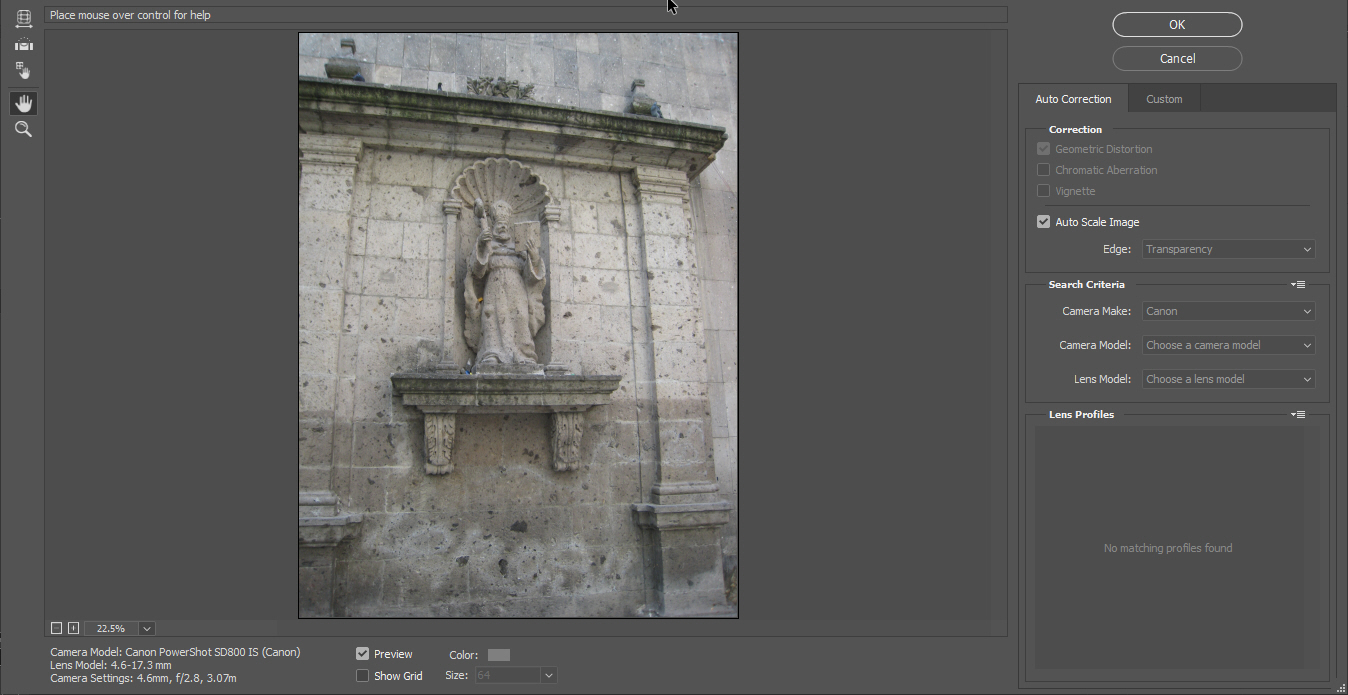
In this dialog box is the image before making any corrections. On the lower left is information about the make and model of the camera and lens information. One can make corrections manually or load the camera profile to correct the distortion.
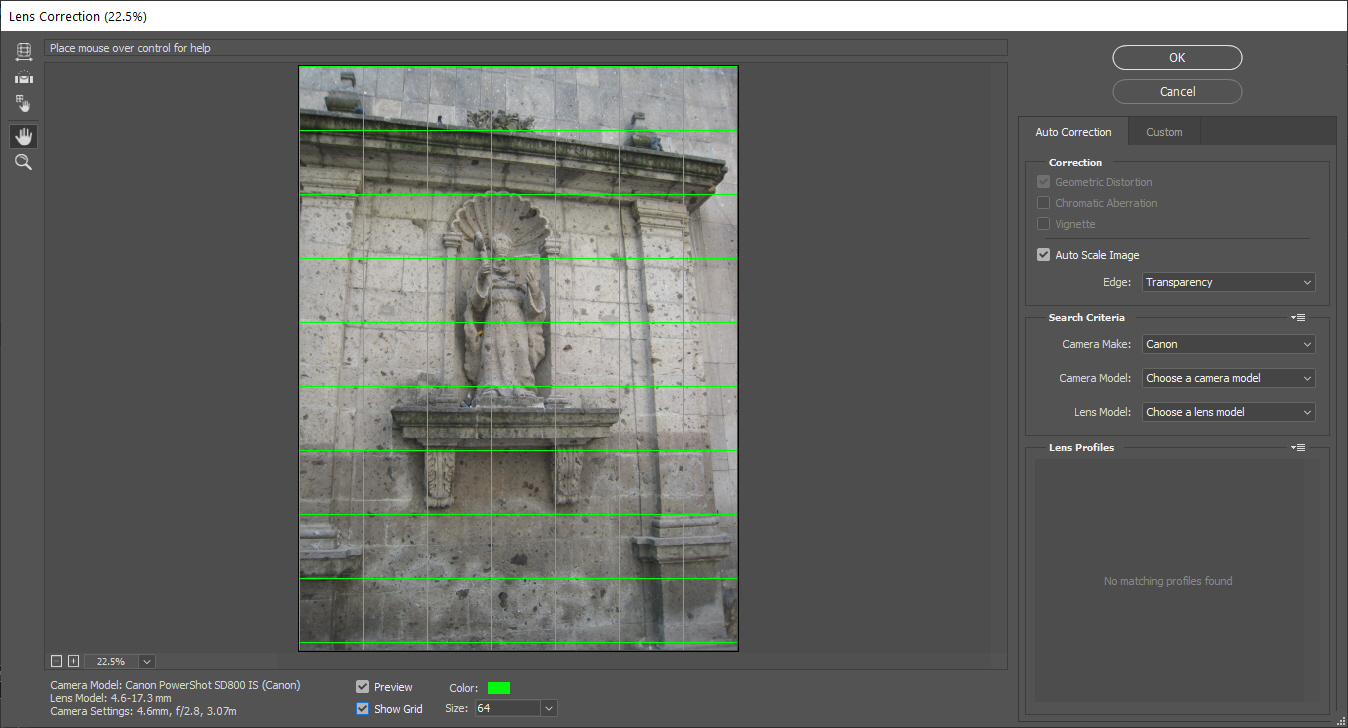
Directly below the image are the options Preview and Show Grid. When both are enabled, Photoshop will place a grid on top of the images. It's recommended to use a color that's easy to see, such as a bright green (0,255,0). Here, the default grid size (of 64) is used.
On the far right, the choices are Auto Correction or Custom. Custom gives access to many settings one can use to transform the image. All it takes is experimentation and time. The image grid makes it easier to make changes.
At the bottom of the Auto Correction tab is information for the camera, which includes the type of camera, the model, and the type of lens. That information is on the lower left of the dialog box, directly under the preview image. By default, the setting is Canon, and nothing else.
Unfortunately, when looking at the setting for camera type and lens, neither were available in the list. Not only that, clicking on the Browse Adobe Lens Profile Creator icon brings up the following error https://www.adobe.com/404.html
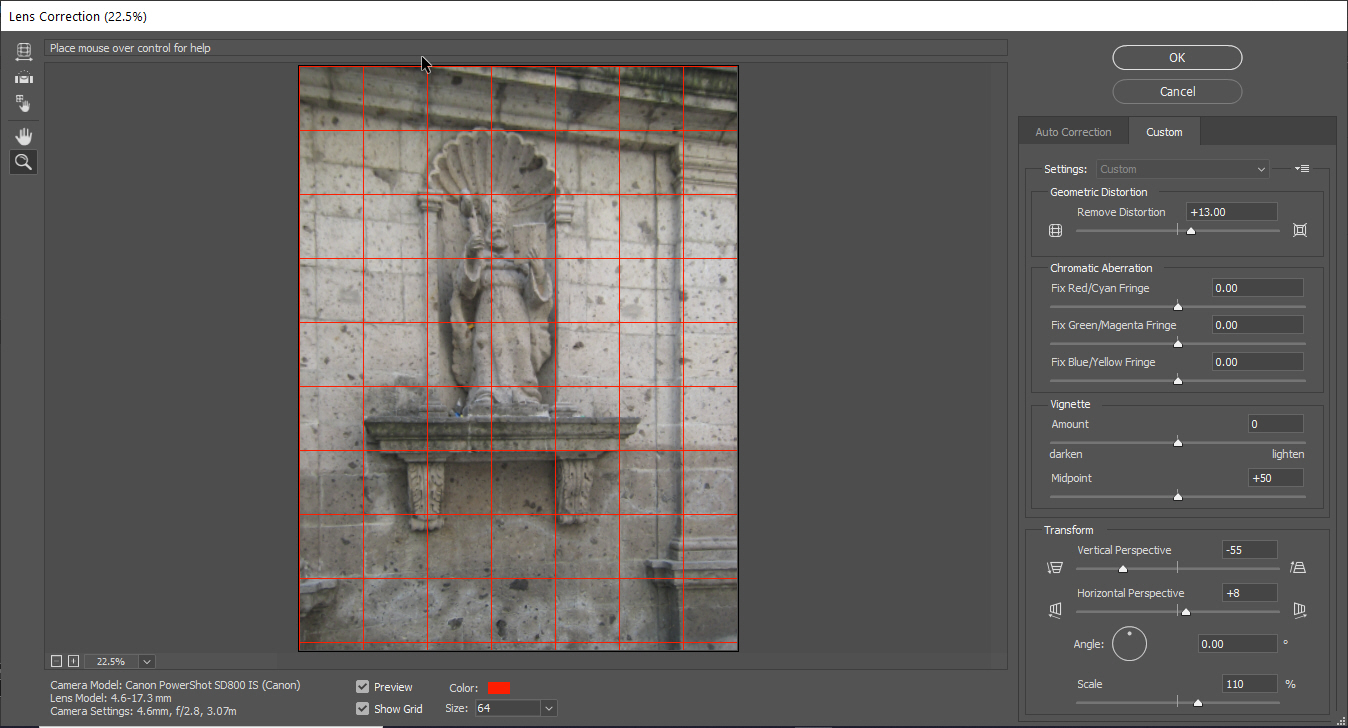
That left only one choice, to fix the image manually. To do so, click on the Custom tab. This brings up the following controls.
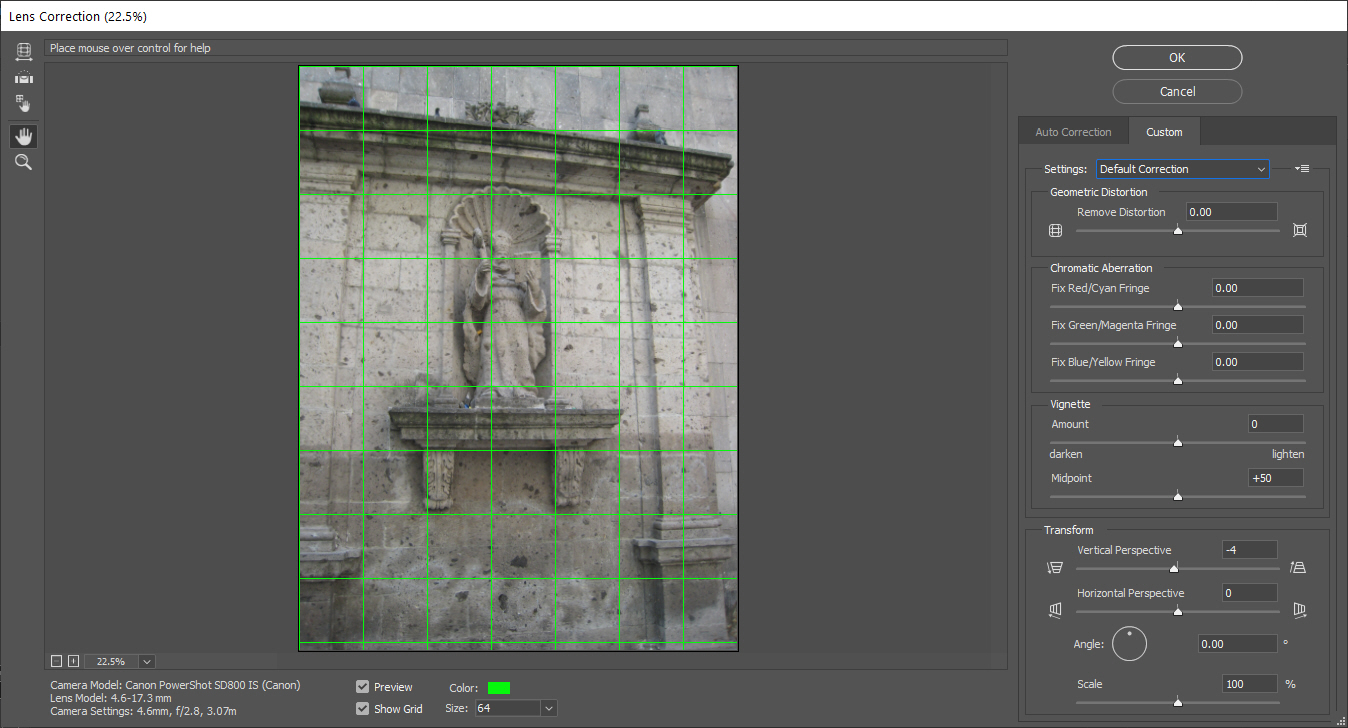
That left only one choice, to fix the image manually. To do so, click on the Custom tab. This brings up the following controls.

The image after all corrections have been applied.
Geometric distortion is used to remove barrel distortion and both Vertical and Horizontal perspective. Note the grid line was changed to red, (255, 0, 0) to make the changes easier to see. No scaling of the image was necessary.
Notes and Observations
As one might expect, changing one setting will cause a shift somewhere else in the image. As an example, changing the perspective will also affect barrel distortion. It will be necessary to go back and forth between the settings until a “sweet spot” is found.
A Resource Hog
One thing to remember is Photoshop is a resource hog. With the perspective warp tool, it’s necessary to have enough processing power, The previous computer used, a Lenovo Thinkpad Edge with 8 GB of RAM and an SSD, didn’t have enough power, forcing an upgrade. The newer (used) computer is a quad core Dell, with 8 GB of Ram, which uses the same SSD. This computer has enough power to run this version of Photoshop.
To see if your computer has the resources, go to Help: GPU Compatibility
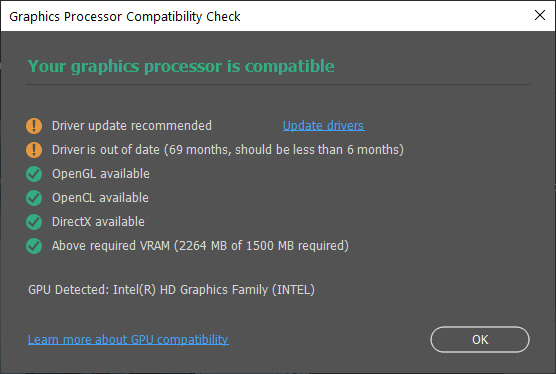
This brings up the following dialog box. This gives information about the GPU, which is compatible. Note that the driver is out of date, though Photoshop still works. With the Lenovo, this dialog box was completely grayed out. Now, it’s time to move to the next step.
How to Fix Perspective Errors with Perspective Warp
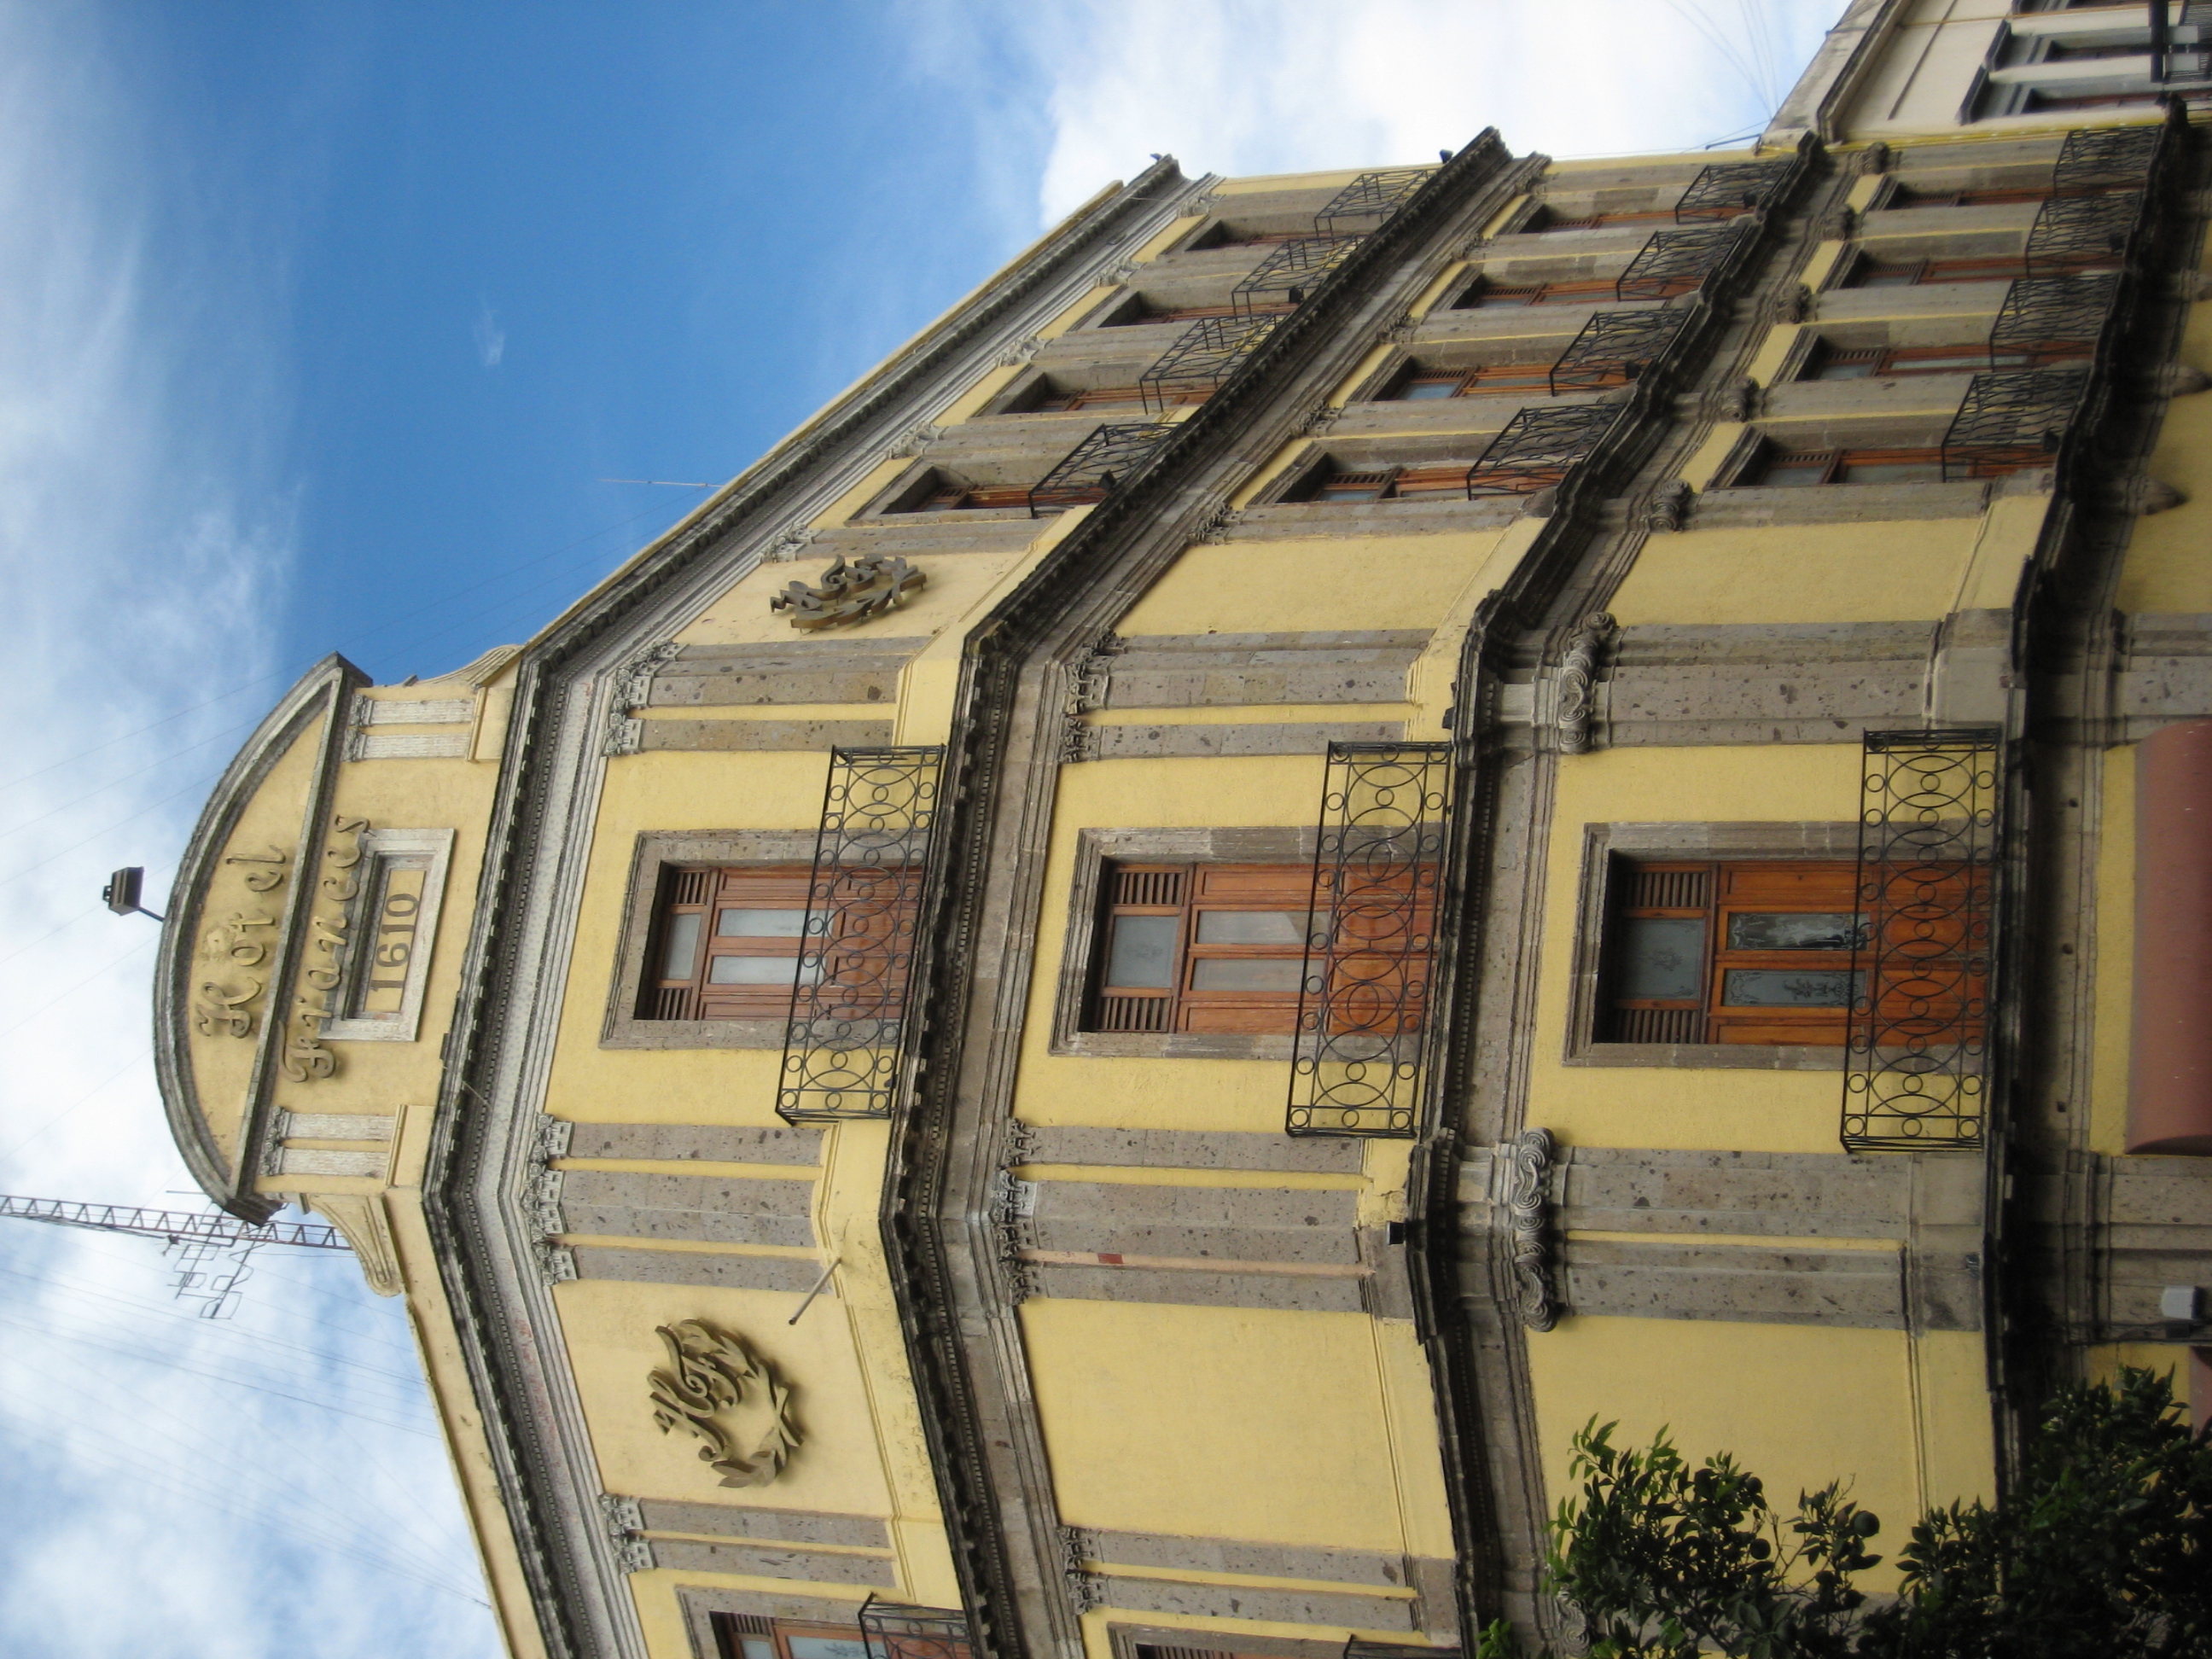
As in the previous section, one can run into many problems when photographing images. One of the most common issues is perspective distortion (leaning buildings).

Here’s an example of a building with perspective issues. As with the previous tutorial, before applying any changes to an image, make a copy in the Layers panel and name it accordingly.
Here’s an example of a building with perspective issues. As with the previous tutorial, before applying any changes to an image, make a copy in the Layers panel and name it accordingly.
To apply Perspective Warp, go to Edit: Perspective Warp. If you don’t see it, you’ll need to download the latest version of Photoshop, Once Perspective Warp is installed, click on it and the cursor will change into an icon. Perspective Warp creates a 3D world to manipulate images. Changes are created by building perspective grids. The tool works in two ways; to straighten buildings out and to change the perspective.
When clicking in the middle of a pin, the grid can be moved around as whole. When a pin is clicked, it can be moved. You can move the pins individually. If you hold down the shift key, it changes the perspective. Also, if you select a pin, you can use the arrow keys to finely nudge it into place.

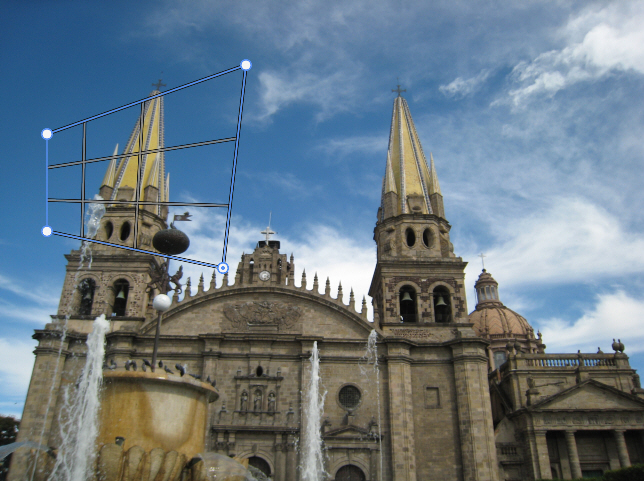
Since this image is on one plane, we only need one grid. Here is the grid in place, using the guidelines to line up the grid with the angles on the building.

Click on the Warp button in the toolbar. After that, click on individual pins to change the perspective. This will happen quickly. When you’re satisfied with the positioning, click on the checkmark in the toolbar to apply the changes. This happens within a few seconds.

Note that it’s not perfect. It will be necessary to go back and forth a few times to get the perspective result desired. If necessary, make use of the rulers to ensure correct alignment.
Now, it’s time to look at an image with multiple perspective issues.
Sometimes an image will have multiple perspective issues. In this case, it’s possible to correct the perspective, though more grids will be involved.
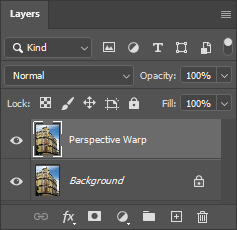
With every image, a copy is made of the background. If anything goes wrong, the original image will be untouched.
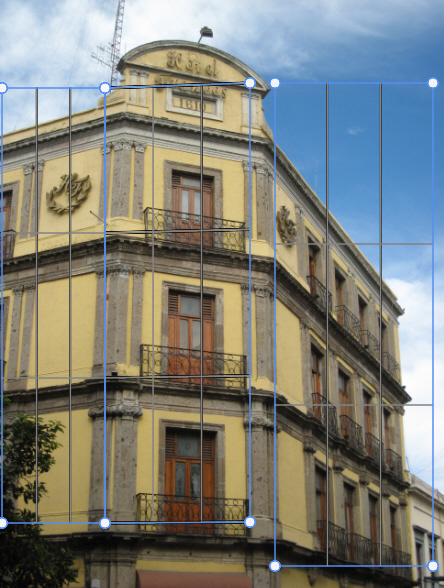
To make this work, you need to draw out three quad shapes as above. The goal here is to get all the control pins to link. To do so, grab one pin and move it so it overlaps another pin. They will snap together and combine as one grid.
All the grids have been joined into one and the control pins have been moved into position, using the guidelines to align the grids to the image. If the control points jump around too much, make use of the arrow keys to nudge them into position. Now, it’s time to fix the perspective.

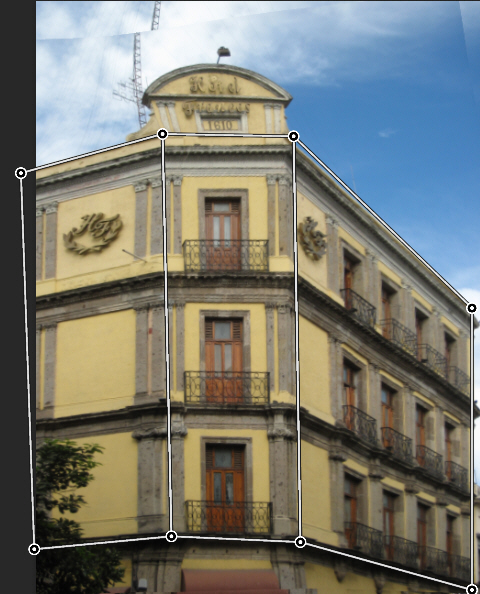
Click on the Warp button. Notice the grid lines vanish, leaving the control points. Take your time and start moving the control points into a position which fixes the perspective. Notice that an image of this type is tricky, due to the multiple perspectives. Also note that the perspective layer might reveal parts of the layer below it, meaning that cropping will be necessary once the changes are applied.

Note that on the control bar, the options are vertical, horizontal, a combination of both and Undo. These are designed to make it easier to make corrections. Still, working with the control points manually will offer the most control.

The corrected image. Note that even after all the adjustments, the positioning is not perfect. This is especially noticeable with the left wall and the top part of the building, where part of the roof has been cut off.
One thing which showed up is even though the positioning of the control points seems to be perfect, when the changes were applied, there seems to be a “snap back” to a previous position. It’s hard to tell if this was caused by software or user error.
The only way to tell is to keep experimenting with the control points, to see if it’s possible to refine the image further.
Even with all the corrections, some retouching will be necessary.
In working with these images, a good idea is to pick images that have a fair bit of white space around them, so if the image expands, there is room to adjust the perspective properly and to not have parts of the building go beyond the frame.
Other Options
There are other tools which allow you get perfectly vertical lines. If you hold down the shift key and mouse over the vertical lines, they turn yellow. This does two things. First off, if the line wasn’t vertical, it is now. Secondly, it locks the top and bottom control points so when you move the top or bottom control point, it will change the perspective of the building.
📷
It's possible to make use of foreshortening, too. Many options await.
Written by:
Nathan Segal
SHARE


About me

Hi there 👋 My name is Nathan Segal, I'm the creator of This Blog. Here, you can view my portfolio and read my articles which are all about art and tutorials


Created with ©systeme.io